A leaky faucet can waste a significant amount of water and increase your water bill. In California, where water conservation is a top priority, it's essential to address leaky faucets promptly. At Toms Plumbing LLC, with 15 years of experience in plumbing services, we've put together a step-by-step guide to help you fix a leaky faucet in just 5 minutes.
A leaky faucet can be caused by various factors, including worn-out O-rings, loose faucet handles, or damaged faucet cartridges. In New York, where the water pressure is particularly high, it's not uncommon for faucets to leak due to the increased pressure. To fix a leaky faucet, you need to identify the root cause of the problem and address it accordingly.
Warning Signs of a Leaky Faucet
A leaky faucet can be identified by the sound of running water, even when the faucet is turned off. You may also notice water droplets on the faucet or around the sink. If you notice any of these warning signs, it's essential to address the issue promptly to prevent water waste and potential damage to your plumbing system.
Fixing a Leaky Faucet: A Step-by-Step Guide
Fixing a leaky faucet is a relatively simple process that requires a few basic tools and some patience. Here's a step-by-step guide to help you fix a leaky faucet in 5 minutes:
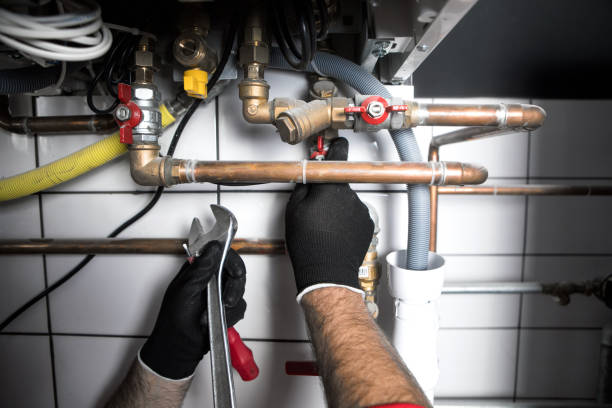
Step 1: Turn Off the Water Supply
Before you start fixing the faucet, make sure to turn off the water supply to the faucet. You can do this by locating the shut-off valves under the sink and turning them clockwise.
Step 2: Disassemble the Faucet
Once the water supply is turned off, you can disassemble the faucet by removing the handle or knob. You may need to use a screwdriver or an Allen wrench to remove any retaining rings or clips.
Step 3: Identify the Leak
With the faucet disassembled, you should be able to identify the source of the leak. It may be a worn-out O-ring, a loose faucet handle, or a damaged faucet cartridge. Once you've identified the leak, you can proceed to the next step.
Step 4: Replace the Worn-Out Parts
If you've identified the leak as a worn-out O-ring or a loose faucet handle, you can replace the parts with new ones. Make sure to purchase the correct replacement parts for your faucet model.
Step 5: Reassemble the Faucet
Once you've replaced the worn-out parts, you can reassemble the faucet by following the reverse steps of disassembly. Make sure to tighten any retaining rings or clips securely.
Step 6: Turn On the Water Supply
With the faucet reassembled, you can turn on the water supply by locating the shut-off valves under the sink and turning them counterclockwise.
Prevention is Key
Preventing leaky faucets is easier than fixing them. Here are a few tips to help you prevent leaky faucets:
Regular Maintenance
Regular maintenance is essential to prevent leaky faucets. Check your faucets regularly for any signs of wear and tear, and address any issues promptly.
Use High-Quality Faucets
Using high-quality faucets can help prevent leaky faucets. Look for faucets with durable materials and a sturdy construction.
Avoid Over-Tightening
Avoid over-tightening the faucet handles or knobs, as this can cause the faucet to leak.
Costs of Fixing a Leaky Faucet
The cost of fixing a leaky faucet can vary depending on the severity of the issue and the type of faucet you have. On average, the cost of fixing a leaky faucet can range from $50 to $200. However, if you ignore the issue and let it persist, the cost can increase significantly.
Conclusion
Fixing a leaky faucet is a relatively simple process that requires a few basic tools and some patience. By following our step-by-step guide, you can fix a leaky faucet in just 5 minutes. Remember to prevent leaky faucets by regular maintenance, using high-quality faucets, and avoiding over-tightening. If you're not comfortable fixing a leaky faucet yourself, it's always best to consult a professional plumber like Toms Plumbing LLC, with 15 years of experience in plumbing services.